Plants
In Staxel, *.plant files are used to make plants. These files include all the information needed to make plants including;
- All individual stages of plants.
- How this plant grows between stages.
- Individual properties of each stage.
Contents
Adding New Plants to Staxel
Making the plant .tile
In this tutorial, you will need to have made a plant that has all of the growth stages you want. The best way to do this is to create a file like so;

Each stage of the cabbage is inside the file, along with the withered and dying versions of the cabbage. Doing it in this order allows you to make a very clean .tile file for the plant you make.
When you have completed this model, drop it into a folder in /gamedata/content/mods/. (If you do not have a folder set up, create one with the mod name you want.) When that is done, create a text file with the same name as the model's name but instead of ending in ".txt" end it in ".plant". Then open this in your text editor of choice.
Once open, copy the following into your file;
{
  "__inherits": "staxel/plant/crop/base.config",
  "code": "mods.yourmodname.tile.plantname",
  "searchable": false,
  "variants": [
    "staxel/plant/crop/CabbageCrop.qb?size={16,32,16}?offset={0,0,0}",
    "staxel/plant/crop/CabbageCrop.qb?size={16,32,16}?offset={16,0,0}",
    "staxel/plant/crop/CabbageCrop.qb?size={16,32,16}?offset={32,0,0}",
    "staxel/plant/crop/CabbageCrop.qb?size={16,32,16}?offset={48,0,0}",
    "staxel/plant/crop/CabbageCrop.qb?size={16,32,16}?offset={64,0,0}",
    "staxel/plant/crop/CabbageCrop.qb?size={16,32,16}?offset={80,0,0}",
    "staxel/plant/crop/CabbageCrop.qb?size={16,32,16}?offset={112,0,0}",
    "staxel/plant/crop/CabbageCrop.qb?size={16,32,16}?offset={16,0,16}",
    "staxel/plant/crop/CabbageCrop.qb?size={16,32,16}?offset={32,0,16}",
    "staxel/plant/crop/CabbageCrop.qb?size={16,32,16}?offset={48,0,16}",
    "staxel/plant/crop/CabbageCrop.qb?size={16,32,16}?offset={64,0,16}",
    "staxel/plant/crop/CabbageCrop.qb?size={16,32,16}?offset={80,0,16}",
    "staxel/plant/crop/CabbageCrop.qb?size={16,32,16}?offset={112,0,16}",
    "staxel/plant/crop/CabbageCrop.qb?size={16,32,16}?offset={16,0,32}",
    "staxel/plant/crop/CabbageCrop.qb?size={16,32,16}?offset={32,0,32}",
    "staxel/plant/crop/CabbageCrop.qb?size={16,32,16}?offset={48,0,32}",
    "staxel/plant/crop/CabbageCrop.qb?size={16,32,16}?offset={64,0,32}",
    "staxel/plant/crop/CabbageCrop.qb?size={16,32,16}?offset={80,0,32}",
    "staxel/plant/crop/CabbageCrop.qb?size={16,32,16}?offset={112,0,32}"
  ],
  "categories": [
    "crop",
    "plant",
    "produce",
    "growable",
    "Cabbage",
    "purple",
    "vegetable",
    "food"
  ]
}
This file looks long, but it is somewhat simple. Starting off with the easiest properties; "__inherits" grabs information from another file. This sets it up so that we have all the default plant properties already done. Next is Tile#"code", which is the identifier for this tile. This is most commonly the path to the file but replacing "/" with ".". Change the values above to what is needed in this case. The next is Tile#"searchable" which allows us to search for the file in either creative mode or shipping catalogue. This is set to off as we will be making a seed packet at a later point in time. The last simple property is Tile#"categories". This is a List of Strings which dictate what a user would search for. There are other uses but search terms is the main use.
The final property is Tile#"variants", this can be somewhat difficult to understand. So I'll break it down here. First lets take a single line;
"staxel/plant/crop/CabbageCrop.qb?size={16,32,16}?offset={0,0,0}",
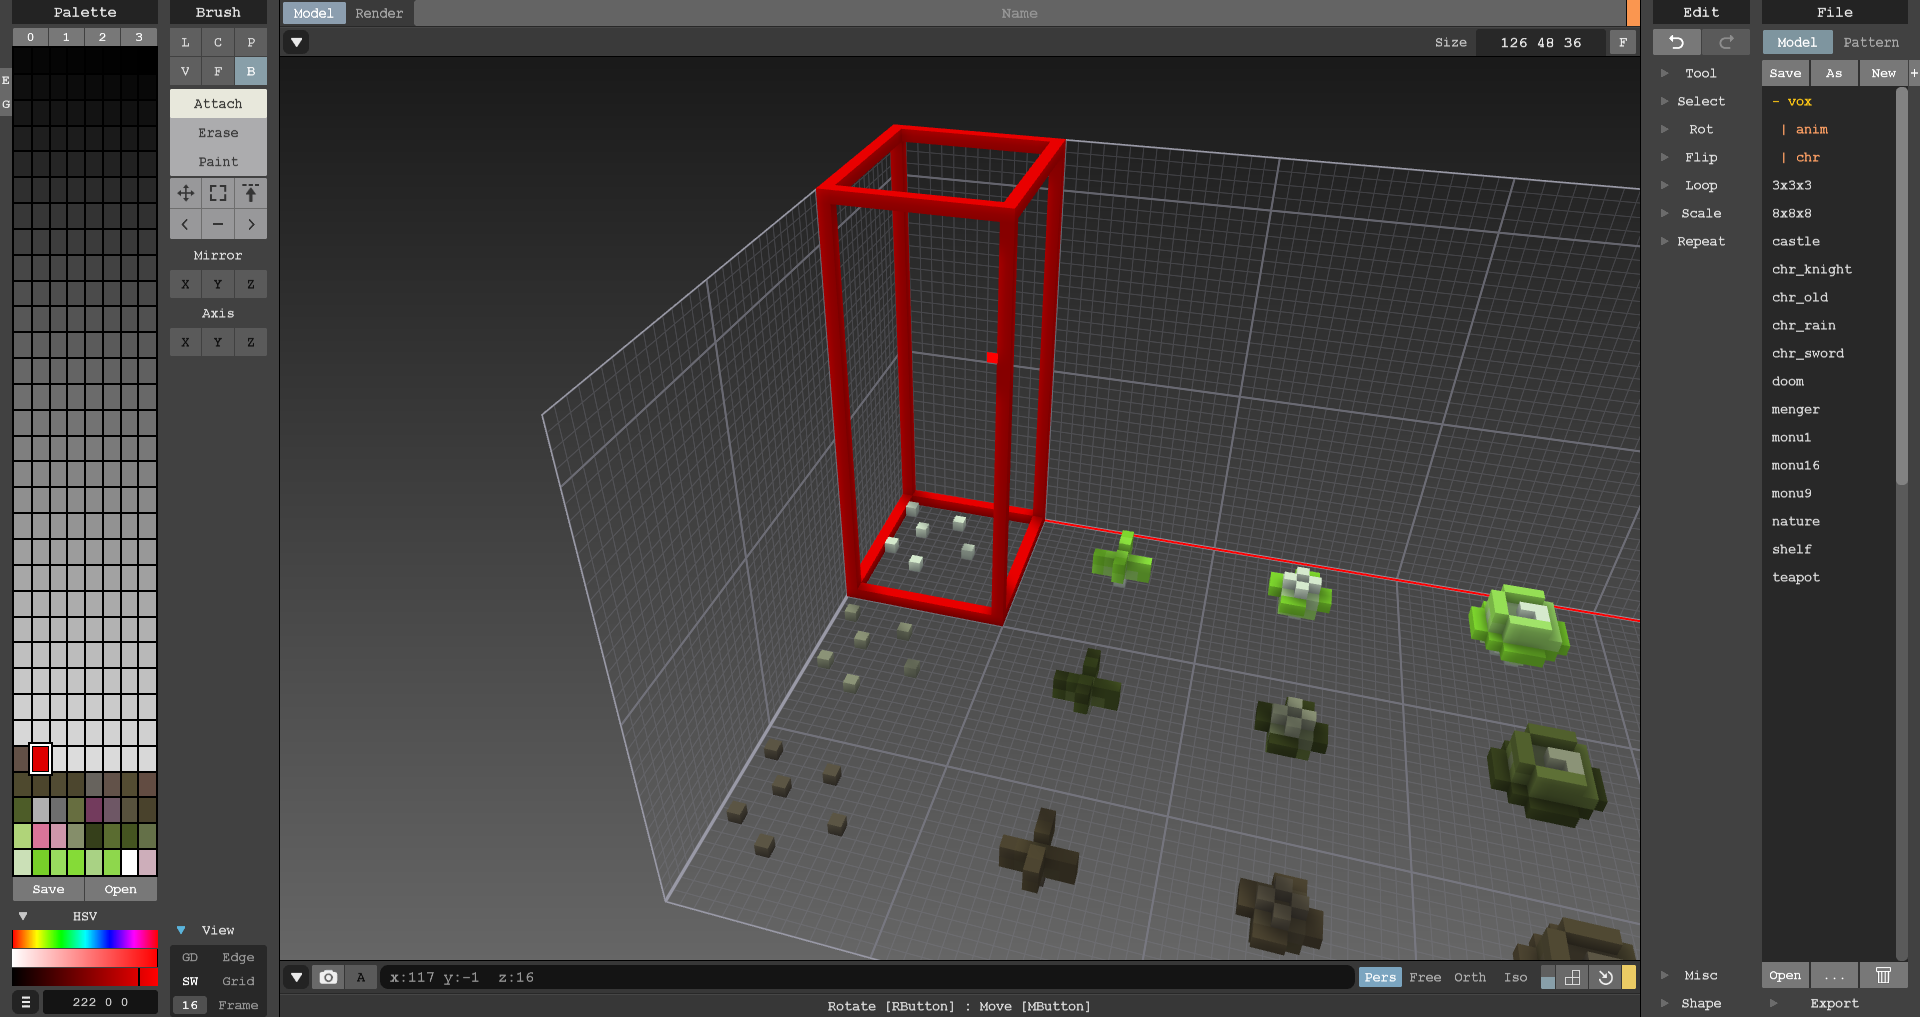
This line takes a file and takes only a specific bit of it. Specifically, the first part of the line, which is staxel/plant/crop/CabbageCrop.qb, is the file that you want to go to. You'll want this part to be the file that you have created. The next part, ?size={16,32,16} specifies how large this specific section should be. This should be the size of a single crop in you model file. The line taken specifies a region like this image. The next section, ?offset={0,0,0} specifies what part of the file you want to take. This moves the section that you take across from the bottom corner, such as this image. Typically you'll move the width of the plant in a single direction at a time. (e.g. first line is {0,0,0} while the second is {16,0,0}.)
With that explanation, you should be able to specify each and every plant in the file. If you get confused take a plant from the game and copy it's output and try and change it. If you still don't quite get it, seek help from the community, such as the forum or the discord.
With that you are ready to go onto actually creating the plant. You might want to run Content Builder at this point in order to check for errors.
Making the .plant file
Now with a .tile complete, you can move onto the nitty-gritty of plants. This section will be large as there is a lot to do in the file.
Lets start off with making another text file. This text file should have the same name as you model and tile file, but instead it should end in ".plant". From this point on there will be two sections, the first will take about "global" properties, or rather the properties that effect every single stage of growth. The second will take about every single growth stage for the plant.
You will also want to make a Seed packet model for the following section. Store this model alongside your other files.
Global Properties
Inside the ".plant", add the following;
{
  "code": "mods.yourmodname.plant.plantname",
  "tile": "mods.yourmodname.tile.plantname",
  "seasons": [ "spring", "winter" ],
  "icon": "staxel/plant/crop/CabbageSeedpacket.qb",
  "inHandOffset": {"x": 0.0, "y": 0.0, "z": 0.0},
  "inHandRotation": {"x": 0.0, "y": 1.54, "z": -1.54},
  "searchable": true,
  "categories": [
    "plant",
    "green",
    "seed",
    "vegetable",
    "crop"
  ],
  "pricing": {
    "value": 80.0,
    "sellPrice": 48.0
  },
}
As referenced above, this is missing information for the individual stages, however these properties are still needed in order for you plant to work. The first property, #"code", is known as the identifier of the plant. Like the tile this needs to be unique to everything else. The second property #"tile", uses the code of the tile created in #Making the plant .tile. #"seasons" is a List of Strings of what Seasons you want the plant to grow in. You can have "summer", "spring", "winter" or "autumn" and any combination of these. If you want to have all seasons without specifying them, just delete the line.
The next set of properties set up information for the Seed packet that you hold in your hand. The next property is #"icon" which is a path to the Seed Packet model you made. #"inHandOffset" is the offset of the seed packet in your hand. #"inHandRotation" is the amount to rotate the seed packet by in each rotation axis. This is in Radians instead of Degrees. Both of these values are not necessary to change, unless you have a completely different seed packet to the normal. #"searchable" and #"categories" are like the ones for Tile, but these are specifically for the seed packet.
The final property is the Pricing Component. This is optional however deleting it will not allow you to buy or sell the Seed Packet. The first property, inside the Blob is "value" which tells you how much the recipe can be bought for. "sellPrice" on the other hand is how much the recipe can be sold for.
This is it for the majority of useful global properties. There are more properties, specified in the config options below. But those are mostly used in specific circumstances.
Stages
Having completed the global properties, it's now onto making the plant stages. First off add the following to the end of the file;
"stages": {
  "seed": {
    "alt": 0,
    "grow": "growthStage1",
    "growWindow": {
      "x": 1,
      "y": 1
    },
    "shovelable": {}
  },
  "growthStage1" : {
    //Added later
  }
}
This sets up the very first stage of the plant, its seed stage. This stage must be included in every single plant as it is the stage that gets placed first. This stage is often very simple, containing only a couple properties. The first property "alt" is what model number to use. This uses the Tile#"variants" that was specified in your tile file. In practicality, specifying 0 will choose the first line in "variants", specifying 1 for the second model etc. #"grow" is the next stage that the seed should go to. #"growWindow" is the range in days that it takes to grow. It can take anywhere from "x" days to "y" days (In the example 1 to 1 days or exactly 1 day). The final property is the Shovelable Component. This makes it so you can break seeds with a shovel.
With "seed" done, it's time to move on to the first growth stage. The file should look similar to this;
"stages": {
  "seed": {
    //Listed above
  },
  "growthStage1" : {
    "alt": 1,
    "grow": "finalStage",
    "growWindow": {
      "x": 1,
      "y": 1
    },
    "wilted": "wiltedStage1",
    "wiltedWindow": {
      "x": 1,
      "y": 1
    },
    "scytheable": {}
  },
  "wiltedStage1" : {
    //Added later
  },
  "finalStage" : {
    //Added later
  },
}
Two more stages were added for later. "growthStage1" is very similar to the seed stage. Where the #"grow" points to the next stage, in this case the "finalStage". The first new property is #"wilted", which is the stage the plant will go to if it is not watered. #"wiltedWindow" is the same as #"growthWindow", except it is how long the plant needs to not be watered for. The final property is instead the Scytheable Component. This makes it so you can break seeds with a scythe instead of a shovel.
Next we move onto the first Wilted Stage. The file should look similar to this;
"stages": {
  "seed": {
    //Listed above
  },
    //Listed above
  },
  "wiltedStage1" : {
    "alt": 7,
    "grow": "CabbageSprout1",
    "growWindow": {
      "x": 1,
      "y": 1
    },
    "withered": "witheredStage1",
    "witheredWindow": {
      "x": 1,
      "y": 1
    },
    "scytheable": {}
  },
  "witheredStage1" {
    //Added Later
  },
  "finalStage" : {
    //Added Later
  },
}
An extra stage was added as well as details for the wilted stage. You can see this stage is exactly the same as the first growth stage. Except, grow is back to the first growth stage and wither points to first Withered stage. This stage is technically not needed if you want crops to immediately die.
The next stage will be the dead or withered stage as well as the fully grown stage. The file should look like;
<pre>
"stages": {
  "seed": {
    //Listed above
  },
    //Listed above
  },
  "wiltedStage1" : {
    //Listed above
  },
  "witheredStage1" {
    "alt": 13,
    "scytheable": {}
  },
  "finalStage" : {
      "alt": 6,
      "interactionEntityAction": "staxel.entityAction.HarvestPullable",
      "pickEntirely": true,
      "pickedTreasure": "staxel.treasure.CabbageHarvest",
      "offset": {"x": 0.0, "y": 0.5, "z": 0.0 },
      "particles": "staxel.particle.harvest.PickCrops",
      "wilted": "wiltedStage1",
      "wiltedWindow": {
        "x": 1,
        "y": 1
      },
      "scytheable": {}
  }
}
As can be seen the withered stage is fairly simple. This just sets a point of no return for the crop.
The fully grown stage however has new variables that are needed. #"interactionEntityAction" is the Entity Action that you want the player to do on interact. Leave this alone to let the player pull the plant. #"pickEntirely" is whether or not plant is picked entirely or if it's a repeating crop. If this is false, then you need to add #picked which is the name of the stage you want to go backwards to when picking. #"pickedTreasure" is the code of the Treasure Pool that you want to give when the plant is picked. #"offset" is the offset from the bottom of the ground where the items from "pickedTreasure" will drop. #"particles" is the code of the Particle System that you want to use when the plant is picked. And the rest of the properties have already been mentioned.
One thing of note here, breaking the crop at this point gives the Item and, if not picked entirely, will go back a stage instead.
With that you should have a functioning plant tile. Feel free to expand on this by adding more stages. Also make sure to run Content Builder in order to see if there is any issues.
Useful components
For Plants, there are not many useful components as most information used for plants are specified outright.
Pricing Component
This is the component for giving your plant's seed packet the ability to be bought and sold. This is needed for plants, with only a few exceptions.
For more information on how to use the Pricing Component, head to Pricing Component#When and How to use.
Tool Components
Plants can use any component that specify how to break a stage. These components are defined per stage.
Head over to Tiles/Components#Components_for_Specific_Tools for the full list of tools.
Config Options
Under construction.